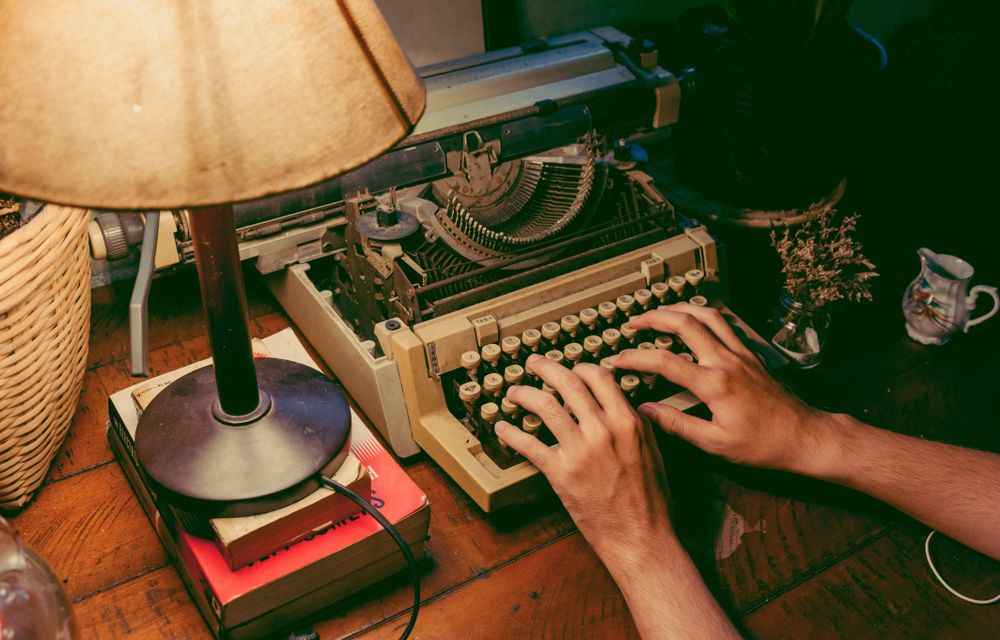
Steampunk drawing looks difficult because the pictures are so full: gears inside gears, pipes that wind round a boiler, an inventor with goggles, a leather harness and a coat covered in buckles. In fact it is built from a few simple shapes, circles, cylinders and boxes, drawn one at a time and joined together. Anyone who can draw a steady circle and a straight line can learn to draw steampunk.
This guide gives our own method, step by step. It explains what you need to start, how to draw gears and cogs, how to draw pipes, rivets and gauges, how to build a steampunk figure, how to design machines and airships, how to shade brass, copper and leather so they look like the real materials, and what to practise. You need no special talent, only a pencil, some paper and patience. Our guide to steampunk art and artists explains where the look of these pictures came from.
What you need to start
Pencils and paper
Start with ordinary pencils. Pencils are graded by how hard their core is: H grades are harder and make lighter lines, B grades are softer and make darker ones, and HB sits in the middle, the ordinary writing pencil. The core is graphite mixed with clay, and the more clay, the harder and lighter the mark. A hard pencil such as a 2H is good for the first light lines of a drawing, which you will rub out or draw over, and a soft one such as a 2B or 4B for the dark shadows at the end. Grades are not the same from every maker, so try yours on scrap paper first.
Any smooth, fairly heavy paper will do. A sketchbook is better than loose sheets, because you can see how your drawing improves from page to page, and that keeps you going.
Tools for circles and straight lines
Steampunk is full of circles and straight lines, so a few drawing tools help a great deal. A compass draws clean circles for gears and dials. A ruler, and a set square, a flat triangle with a right angle, draw straight edges, parallel lines and corners. A circle template, a sheet of plastic with holes of different sizes, is quicker than a compass for small rivets and bolt heads. A soft eraser lifts pencil without tearing the paper, and a putty eraser, which you can shape to a point, picks out highlights on metal.
Ink and colour
When the pencil drawing is right, many people go over the lines in ink with a fine pen and rub the pencil out. For colour, coloured pencils in browns, ochres, oranges and greys are enough for brass, copper and leather; watercolour and markers work too. If you finish a drawing with a spray fixative or varnish, use it outdoors or with the windows open: products that contain solvents can cause headaches and dizziness, and the Health and Safety Executive says ventilation is always needed when they are used.
Reference
The most useful thing of all is something real to look at. Photograph clocks, locomotives, pumps, old tools, radiators, valves and street lamps whenever you see them. A box of old keys and a broken alarm clock, without a luminous dial, will teach you more about how metal catches the light than any book.
Drawing gears and cogs
How real gears work
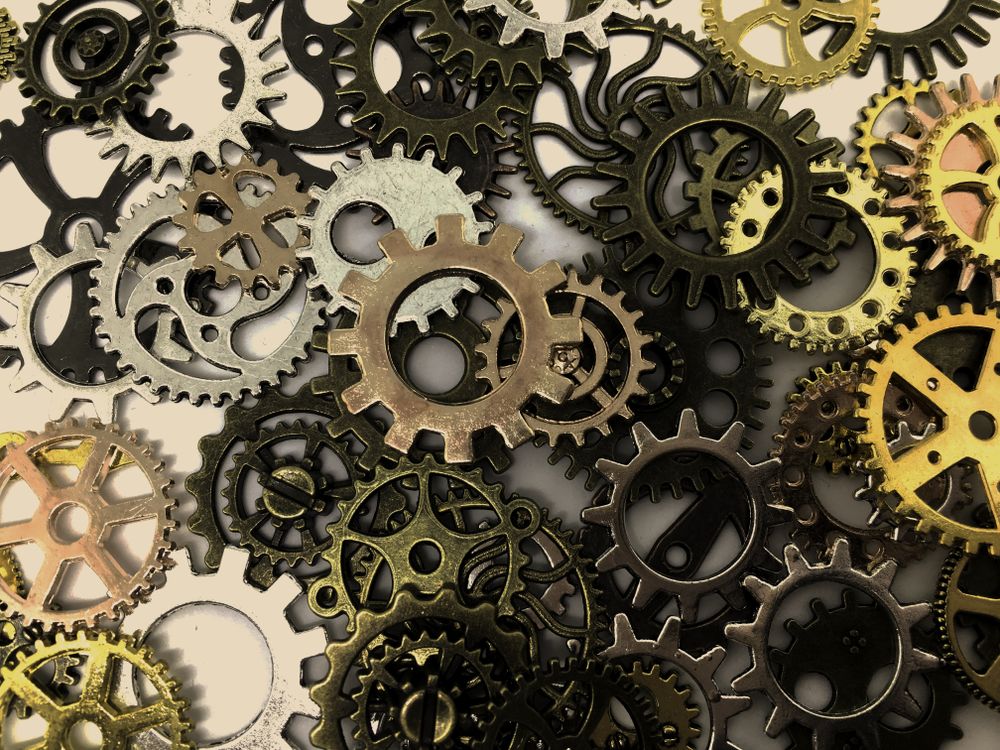
A gear is a wheel with teeth round its edge. A cog is, strictly, one of those teeth, though the word is also used for the whole gear. Two gears whose teeth fit together are said to mesh, and knowing three facts about them will make your drawings look as if they could really work. First, two meshing gears side by side turn in opposite directions. Second, gears that mesh must have teeth of the same size, so a big gear and a small gear that touch have teeth the same width but different numbers of them. Third, a small gear driving a big one turns faster than it, and a big gear driving a small one makes the small one spin quickly. If you put a third gear between two others, the last one turns the same way as the first.
Viewers notice when gears could not turn, even if they cannot say why. Teeth that do not fit, gears that overlap without meshing, or a gear connected to nothing all make a drawing look like decoration. Teeth that mesh, with each gear on a shaft and each shaft held by something, make it look like a machine.
Step by step: a gear face on
- Draw a circle lightly with the compass. This is the outer edge of the teeth.
- Draw a second circle a little smaller, from the same centre. This is the bottom of the teeth.
- Draw a small circle in the middle for the hole and a slightly larger one round it for the hub, the thick centre that fits on the shaft.
- Mark the teeth round the edge. Draw lines from the centre out to the edge like the spokes of a wheel, an even number of them, and draw a tooth on every other gap. A tooth that is slightly narrower at its tip than at its base looks more real than a square block.
- Add spokes, or cut-outs in the solid part between the hub and the teeth, to make the gear lighter. Many old gears have four or six spokes, sometimes curved.
- Rub out the guide lines and go over the gear in ink.
Gears at an angle
A gear seen at an angle is an ellipse, a squashed circle, and the teeth become narrower towards the sides. Draw the ellipse first, then a second one behind it to give the gear its thickness, and join them at the edges. Draw the teeth on the front ellipse and let the ones at the sides overlap each other. This is the hardest part of drawing gears, and it is worth filling a page with ellipses before you add a single tooth.
Other kinds of gear
A rack is a straight bar with teeth, turned by a small gear so that it slides in a line. A worm looks like a screw and turns a gear beside it very slowly. Bevel gears are shaped like slices of a cone and turn a movement round a corner. A single rack, worm or bevel in a drawing among the ordinary flat gears shows that you know how machines work. Our guide to cogs, gears and machines has more on the gears themselves.
Pipes, rivets and gauges
Pipes
A pipe is a cylinder, and a cylinder is two ellipses joined by two straight lines. Draw the near end as an ellipse, draw the far end as a smaller one if the pipe goes away from you, and join their edges. A bend is a section of a ring: draw the curve of the middle of the pipe first, then the two edges either side of it, keeping the same width all the way round. Where two pipes join, add a collar, a short, slightly wider ring, and a flange, a flat disc with bolts round its edge. Pipes look best when they go somewhere: from a boiler to an engine, from a tank to a valve.
A valve wheel, the round handle used to turn a valve, is simply a gear without teeth: a rim, a hub and three to six spokes. Draw it at an angle, and you have the classic steampunk detail.
Rivets
Rivets are the round-headed metal pins that once held boilers, ships and bridges together. Before welding and bolts took over, iron and steel structures were usually riveted: each rivet was heated red hot, put through holes in two plates and hammered flat on the far side, and as it cooled it pulled the plates together. In a drawing, rivets go in neat, evenly spaced rows along the edges where two plates overlap. Draw a light guide line, mark the spaces with a ruler, and draw each rivet as a small circle with a highlight on the side towards the light and a tiny shadow on the other.
Use rivets sparingly. A row along each seam makes a plate look real; rivets scattered everywhere look like spots.
Gauges
A gauge is a dial that shows a measurement, most often pressure. Many pressure gauges on old machines work on an idea patented in France by Eugène Bourdon in 1849: a curved, flattened tube that tries to straighten when pressure inside it rises, and moves a pointer across the dial through a small set of gears. To draw one, draw a circle for the face and a thicker ring round it for the rim. Add a short neck at the bottom, where the gauge would be fixed to a pipe. Mark the numbers round about three quarters of the circle, not all of it, with a red line near the top of the scale, and draw the needle from the centre with a small round boss over the middle. A slight reflection across the glass, two curved white lines, makes it shine.
Drawing a steampunk figure
Proportions
Artists measure the human figure in heads. An ordinary adult is usually drawn about seven and a half heads tall, including the head; an idealised figure is drawn eight heads tall, and a heroic one eight and a half. The halfway point of the body comes at the hips. Draw a line for the height, divide it into equal parts, one per head, and you have a guide for where the shoulders, waist, knees and feet go.
Step by step: an inventor
- Draw a simple stick figure in the pose you want, with ovals for the head, chest and hips. Keep it light.
- Build the body round it with cylinders for the arms and legs.
- Draw the clothes over the body: a shirt with full sleeves, a waistcoat, trousers tucked into boots. Let the cloth fold where the body bends, at the elbows, the knees and the waist.
- Add the coat. A long coat flares out from the waist and falls in folds; draw its outline first and the folds last.
- Add the hat and the goggles. Goggles on a hat brim sit as two short cylinders with a strap round the crown.
- Add the details last: buckles on the belt, a watch chain across the waistcoat, a tool in the hand, a gauge on the wrist.
Telling a story with the details
A steampunk figure is defined by what they carry and what they wear. An explorer has a map case, a compass and boots worn at the toes. An inventor has a leather apron, rolled sleeves and a pocket full of tools. An aviator has a leather helmet, a scarf and goggles pushed up on the forehead. Choose one character and give every detail a reason. Our guide to steampunk fashion describes each piece of clothing, and our guide to steampunk goggles shows the different kinds, which are worth copying exactly.
Faces and hands
Faces and hands are hard for everyone, so do not let them stop you. Draw the face as an egg shape with a line across the middle for the eyes, and hide a difficult hand in a glove or on a tool. Gloves and gauntlets are part of the look anyway.
Machines and airships
Designing a machine
Every good steampunk machine starts with a job. Decide what it does, a walking engine, a flying machine, a machine for making tea, and then ask what it needs: something to make power, such as a boiler and a furnace; something to pass the power on, such as gears, pistons and drive rods; and something to do the work, such as legs, wheels, propellers or arms. A chimney shows where the smoke goes, and a seat, a ladder or a handrail shows where a person fits, which gives the machine its size.
Draw the machine first as simple shapes, a box for the cab, a cylinder for the boiler, circles for the wheels, and only add the pipes, gauges and rivets once the big shapes look right together.
Drawing in three dimensions
The Victorians had a method for drawing machines so that all their sides could be measured. In 1822 William Farish published a paper, On Isometrical Perspective, which first set out formally what is now called isometric drawing. In it, the three directions of an object, height, width and depth, are drawn with each pair of them meeting at 120 degrees: upright lines stay upright, and the lines going away to either side slope at 30 degrees from the horizontal. Nothing gets smaller in the distance, so you can measure every edge with a ruler. It is ideal for a machine that looks as if it came from an engineer's notebook. For a more dramatic picture, draw in perspective, with lines that meet at a point on the horizon, so the far end of the machine looks smaller than the near.
Airships
An airship has two main parts. The envelope is the great bag that holds the gas that lifts it, and the gondola, or car, hangs below and carries the engines, crew and passengers. Rigid airships, such as the Zeppelins, had a frame of lattice girders covered in fabric, with the gas held in bags inside. The first airship to fly under engine power, built by the French engineer Henri Giffard in 1852, was driven by a steam engine, so a steam airship is less of a fantasy than it sounds.
- Draw a long, cigar-shaped ellipse for the envelope, pointed slightly more at the back than the front.
- Draw curved lines along its length and round its middle, following its shape, to show the panels of fabric or the frame beneath. They make it look round.
- Add fins at the tail, two or four, like the flights of a dart.
- Hang the gondola below on cables or struts. Steampunk gondolas are often ships' hulls, with portholes, a deck rail and a wheelhouse.
- Add propellers, a chimney if it runs on steam, and ropes trailing down.
- Draw tiny figures on the deck to show how huge it is.
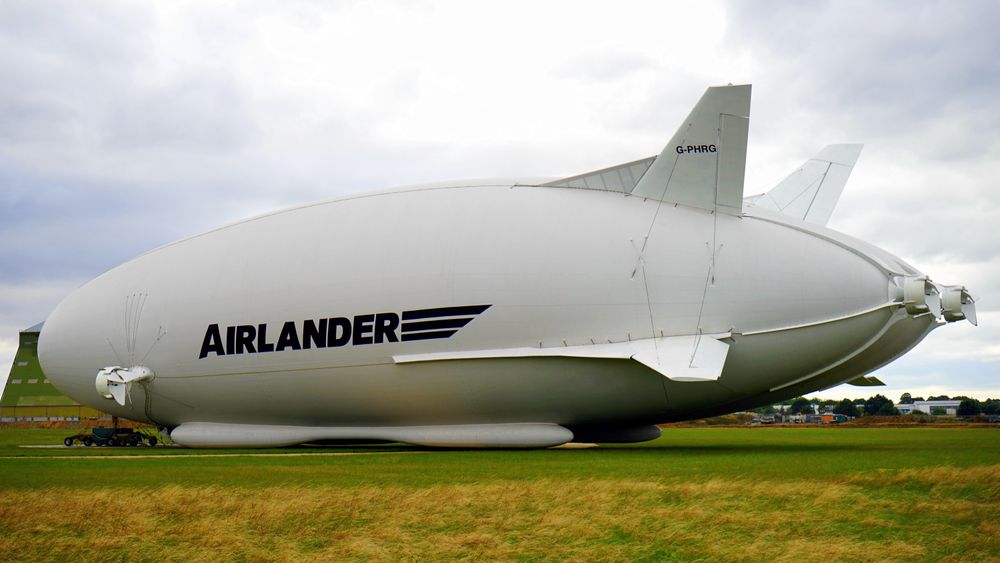
Our guides to steampunk airships and to the real airships have more on the shapes the great airships really had.
Shading brass, copper and leather
How metal reflects
Polished metal looks the way it does because it reflects its surroundings. A brass cylinder does not shade gradually from light to dark like a matt one: it has sharp bands of bright light and deep dark running along it, with the brightest highlight close to the darkest shadow. To draw it, leave a thin strip of white paper for the highlight, put a band of your darkest tone just beside it, and fill the rest with middle tones. On a sphere, such as a rivet head or a knob, the highlight is a small bright spot with a dark crescent beneath it.
Brass
Brass is an alloy of copper and zinc, and its colour runs from a reddish gold, when it has more copper, to a paler, almost silvery yellow, when it has more zinc. In colour, start with a warm yellow ochre, add orange and brown in the shadows, and leave the highlights pale yellow or white. Brass that has not been polished turns brown and then nearly black, and can grow a green-blue crust; a touch of dark brown in the crevices and a little green round a rivet makes a piece look old.
Copper
Copper is pinker and redder than brass. Use orange, red-brown and a little pink, with deep brown shadows and pale peach highlights. Old copper darkens to brown and, in time, can grow a green-blue coating, which looks lovely next to bright copper in the same picture.
Leather
Leather is not shiny like metal. It has soft, broad highlights, and it shows its age at the edges, the folds and the places that are handled most, which are paler and smoother than the rest. Shade it in browns with gentle gradients, add the creases where it bends, and draw the stitching along the edges as a row of tiny dashes. A strap that crosses a body should curve round it and dip slightly into the cloth under it.
Light from one side
Decide where the light is coming from before you shade anything, and keep it the same across the whole drawing. A single warm light from one side, as from a lamp or a furnace, suits steampunk best: it throws long shadows, picks out the metal, and gives the picture its mood.
Things to practise
Drawing improves with practice more than with anything else, and short, regular practice works better than one long session. These exercises take ten to twenty minutes each.
- A page of circles and ellipses. Freehand, as round as you can, at every angle. Everything else in steampunk is built on them.
- Three gears that mesh. A big, a medium and a small, each turning the next. Mark the direction of each with an arrow and check that alternate gears turn opposite ways.
- A pipe with three bends and a valve. Keep the width the same all the way along.
- One object from life. A key, a padlock, a pocket watch, a tap. Draw exactly what you see, not what you think it looks like.
- A brass sphere, a copper cylinder and a leather strap. Shade each with the light from the same side.
- An ordinary object, steampunked. Take a kettle, a bicycle or a telephone and redraw it as if a Victorian engineer had built it, with a boiler, gears and a gauge.
- A figure in eight heads. Mark the heads on a line first, then draw the figure over them.
- A creature. Draw a cat, an owl or a beetle, then turn its joints into hinges and its body into plates. Our guide to steampunk robots, animals and insects has ideas.
Keep your old drawings. Looking back through a sketchbook after a month shows how far you have come, and the mistakes in the first pages are the best lesson of all.